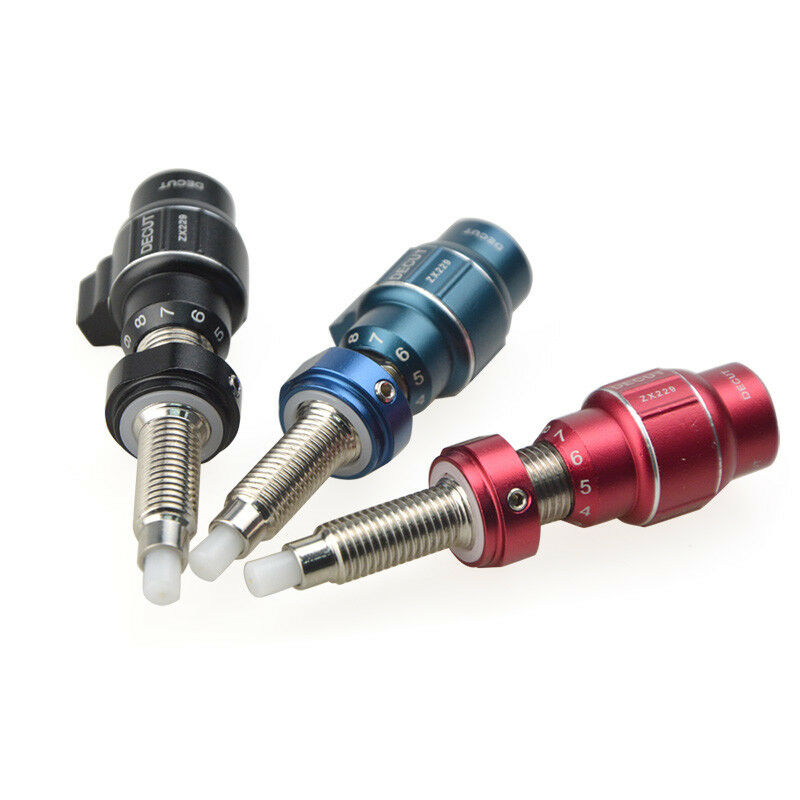
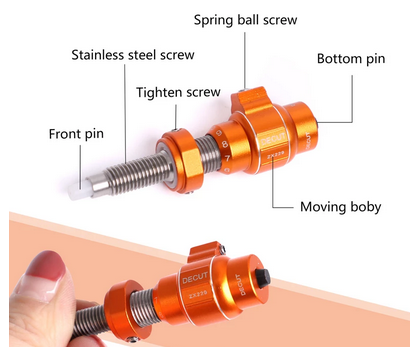
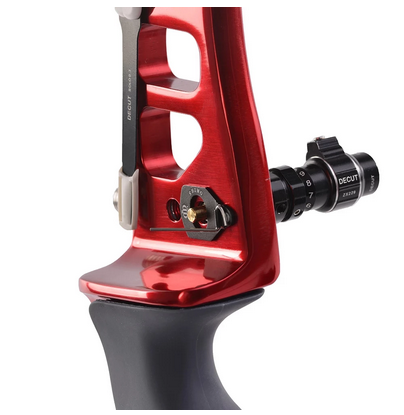
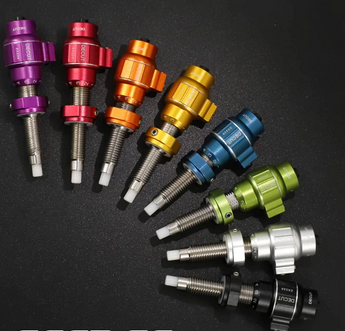
Decut ZX229 Cushion Plunger
Decut ZX229 Cushion Plunger
Couldn't load pickup availability
Features:
1. Micro-click spring tension adjustment allows for exact settings.
2. Adjustable in length up to 25mm
3. Includes:3 springs,2 spare rods & wrenches set.
4. 5/16" screw thread fits all modern risers / handles
5. Precision machined from aluminium
plunger position and the plunger tension
our plunger should be set that the arrow points about ½ till 1 arrow width slightly to the left (for right-handed archers). The plunger tension should match your draw weight. Which means a soft plunger for a low draw weight and a stiff plunger for a heavy draw weight.
Plunger position
As I mentioned above, the plunger should be set in a way that the arrow points slightly to the left, if you are a right-handed archer. If you are left-handed you have to keep the point to the right. If you haven’t tuned your bow before, you might wonder how you can check the plunger position. Let me explain this step by step:
Step 1: To check your plunger position, you have to find a way to prop up your bow. An archery technician will use a bow vice for this which screws into the stabilizer bushing. But I can imagine that you might not want to invest in another tool. Therefore, here is an easy alternative. Simply screw on your stabilizer and use some duct tape to stick it onto the table. It might be a bit more cumbersome, but it’s a decent alternative.
Step 2: Now we need some center markers on both bow limbs. You can use some tape and mark the center, or you can use some limb gauges. These gauges make tuning the bow a lot easier and since there are relatively cheap, you might want to invest in a pair.
Step 3: Screw in your plunger until it hits the locknut (the metal ring of the plunger). Now put the arrow on the arrow rest and take a few steps back.
Step 4: Now close one eye and align the string in the center of the limb using the bow gauges. If it’s not centered you will have to move your head left or right. Check whether your head position is correct for both the upper and the lower limb, before moving on to the next step.
Plunger tension
In the bolded part at the beginning of this section I said: ‘’The plunger tension should match your draw weight.’’ it’s difficult to determine the ideal plunger tension. Since there are many different plungers available on the market, I cannot tell you in great detail how many twists you need. Also, it differs a lot per archer. Do you release cleanly or do you let the string roll over your fingers?
But luckily there is a way to test plunger stiffness across different plunger types. Use a scale and push the plunger down on the scale until the plunger head disappears halfway into the barrel. Now look at your scale and note down the mass, this is your plunger stiffness.
With these measurements, you can now compare your plunger to the recommended plunger stiffnesses listed in the chart below:
| Bow draw weight* | Grams | Ounces |
| 16-20 LBS | 200 | 7 |
| 20-30 LBS | 300 | 10 |
| 30-40 LBS | 350 | 12 |
| 40-50 LBS | 400 | 14 |
| 50 LBS+ | 500 | 18 |
Warning:
* NEVER use an arrow with any sign of damage.
* NEVER Dry-Fire the Bow.
More Info View full details


